Minimum Requirements
Shop Sections requires the following plugins:
- WC Vendors 1.9.14+
- WC Vendors Pro 1.4.0+ (A WC Vendors Pro license is not required, but if you are running WC Vendors Pro, a minimum of version 1.4.0 is required)
- WooCommerce 3.0.0+
Installing Shop Sections
To install Shop Sections:
- Log into your WordPress site.
- Go to Plugins > Add New.
- At the top of the screen, click Upload Plugin.
- Select the .ZIP file sent to you in your Purchase Confirmation email. You have two options:
- Click Browse. Find and select the plugin .ZIP file.
- Drag and drop the .ZIP file onto the Upload Plugin screen.*
- Click Install Now.
- When the installation completes, click Activate.
* Drag and drop will only work if your browser supports it!
Activating Your License
In order to benefit from the latest updates to Shop Sections, you need to activate your license key. To do so:
- Log into your WordPress site.
- Go to Plugins.
- Find the row for Shop Sections.
- Click activate license.
- Enter your license key, which was delivered along with your download.
- Click Activate.

That’s it! Shop Sections is now installed and ready to be configured.
Admin Settings
Once Shop Sections is installed and activated, you can access the plugin settings one of two ways:
- On the Plugins screen, find Shop Sections and click on the Settings link.
- Go to WC Vendors > Settings > General > Shop Sections.
No matter how you access the settings page, your options will be the same.
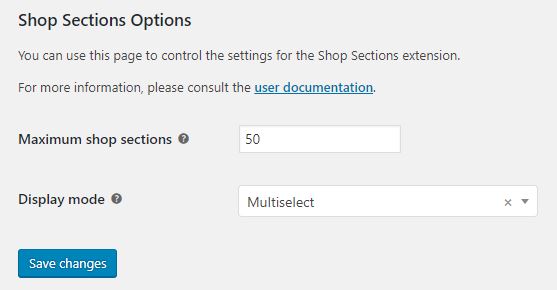
Maximum Shop Sections
This controls the maximum number of shop sections a vendor can create. After initially setting your maximum, if you decide later to reduce the number, any vendor who is over the maximum will be grandfathered in and be allowed to keep the “over limit’ sections. However, they will not be able to add any additional sections until they remove enough sections to be under the updated maximum.
When a vendor attempts to add too many sections, they will be given the following message:

Display Mode
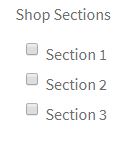
The Display mode toggles how vendors will see their shop sections on their product entry page. There are two options:
- Checklist: The vendors sections will be presented in a checklist format, with the vendor able to select the appropriate sections for the specific product.
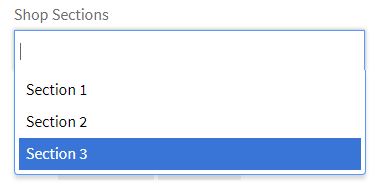
- Multiselect: The vendors will be presented with a drop down menu, which they can also type the name of a specific shop section in. If they choose to type the section name, there is an auto-complete feature, which will help in selecting the correct section.
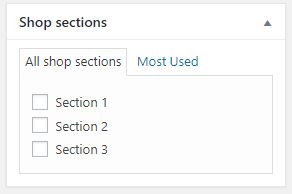
For marketplaces not running WC Vendors Pro, or marketplaces who use the WordPress “back end” for product entry and editing, the Shop Sections will be selected via the Shop Sections box.
Shop Section Display
The display of Shop Sections is controlled via a widget. Navigating to Appearance > Widgets will allow the market admin to add the Shop Sections widget to any available widget area. Within the widget, there are the following options:
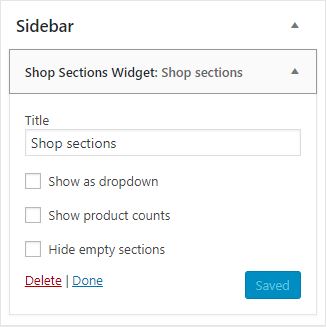
Title: The title of the shop sections that will be displayed to customers of the marketplace.
Show as Dropdown: The vendor’s sections will appear as a drop down, instead of displaying all sections.
Show Product Count: The number of products in each section will be displayed next to the section name.
Hide Empty Sections: If a section does not contain any products, it will not be displayed to customers.
Vendor Options
Adding Shop Sections
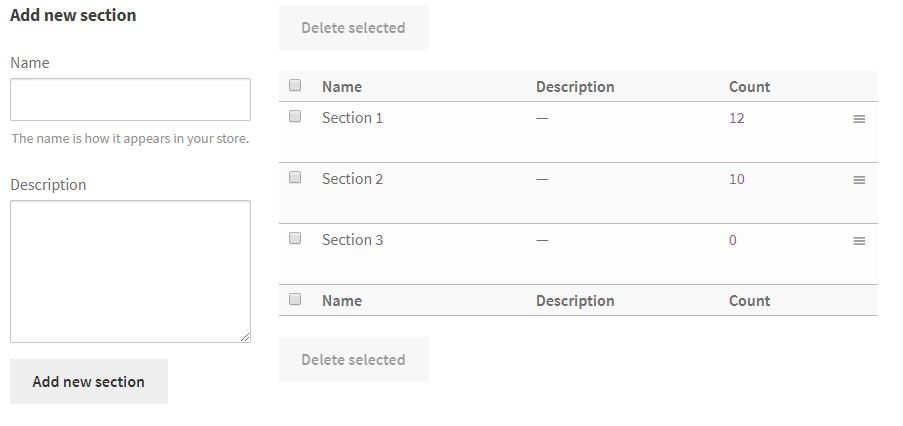
Once enabled, vendors will be able to add/edit their shop sections via the WC Vendors Pro Dashboard. Vendors can access their section settings by clicking Settings > Shop Sections.
Vendors can add new sections by entering the section name into the “Name” field under the Add new section heading. Vendors are also able to add a description, which some themes may display. Once a new section is added, it will appear in the section list to the right.
Edit/Delete a Section
Mousing over a shop section will bring up an edit and a delete link.
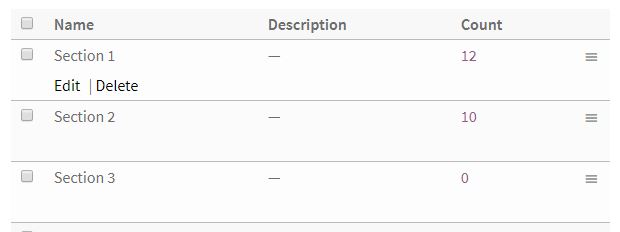
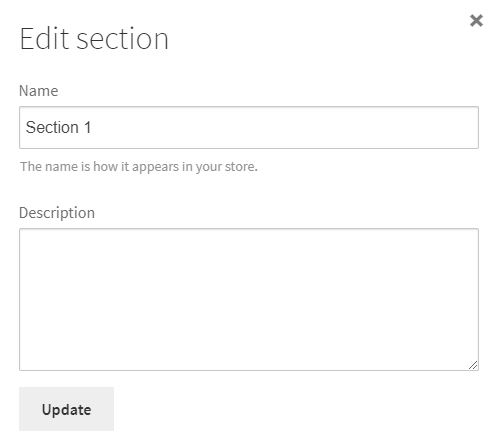
Clicking edit will open a modal window that allows the vendor to edit the section name or section description.
Conversely, clicking the delete option will remove the shop section.
Section Ordering
Vendors can control the order in which sections appear on their shop pages via a drag/drop ability on the Shop Sections tab. Using the three vertical bars on each shop section, vendors can drag and drop them in any order they wish.
Assigning Products to Sections
Vendors assign products to sections via the product entry/edit screen. Under the shop categories, and above the featured/gallery image section, the vendor’s shop sections will display. Vendors are able to select as many sections as they wish.
